
Last updated November 20, 2026
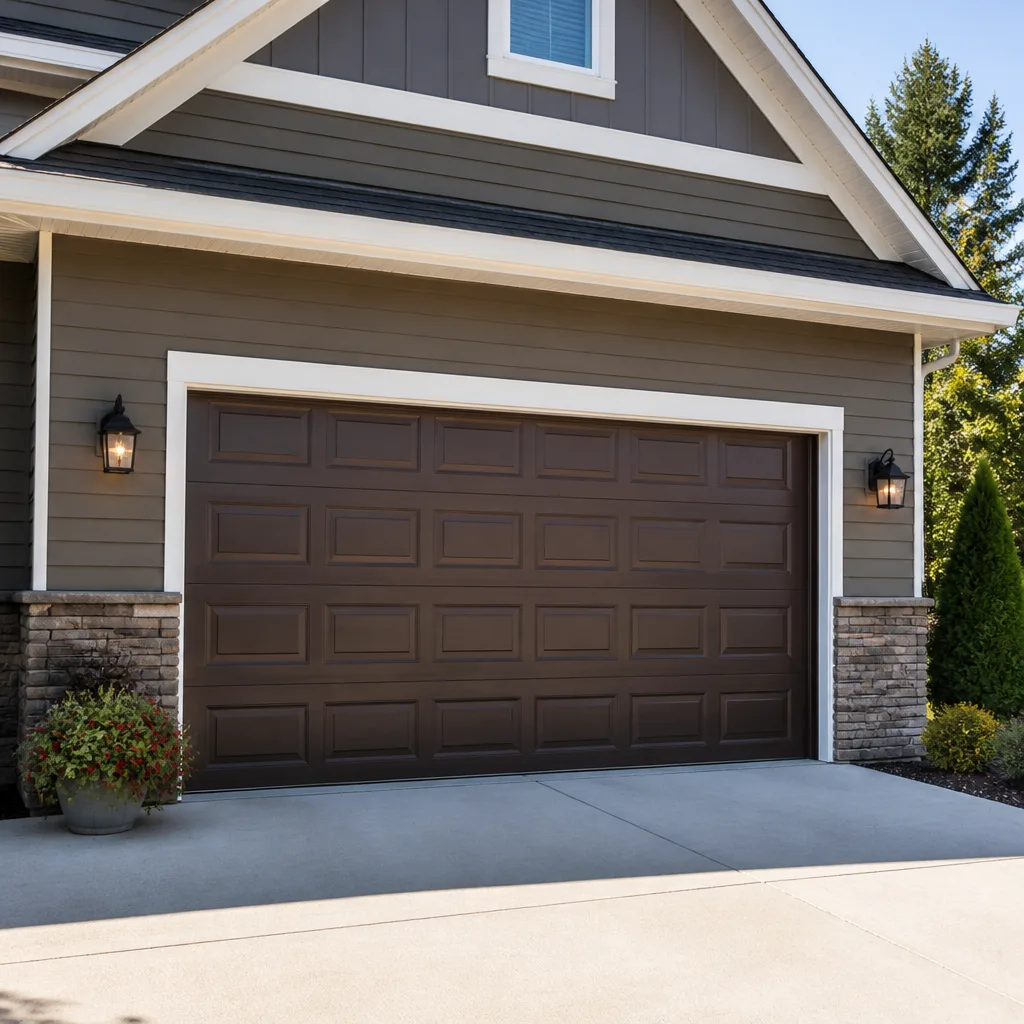 Raised-panel steel
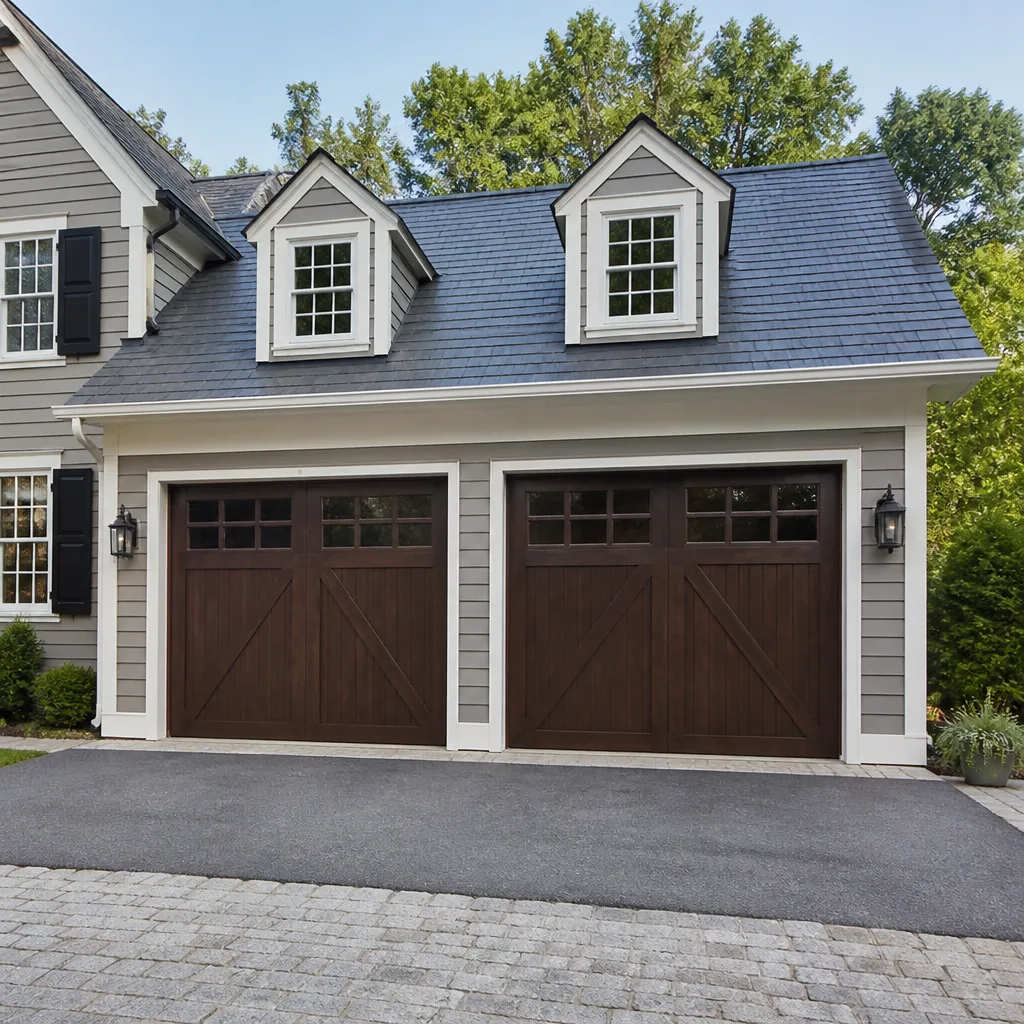 Carriage house
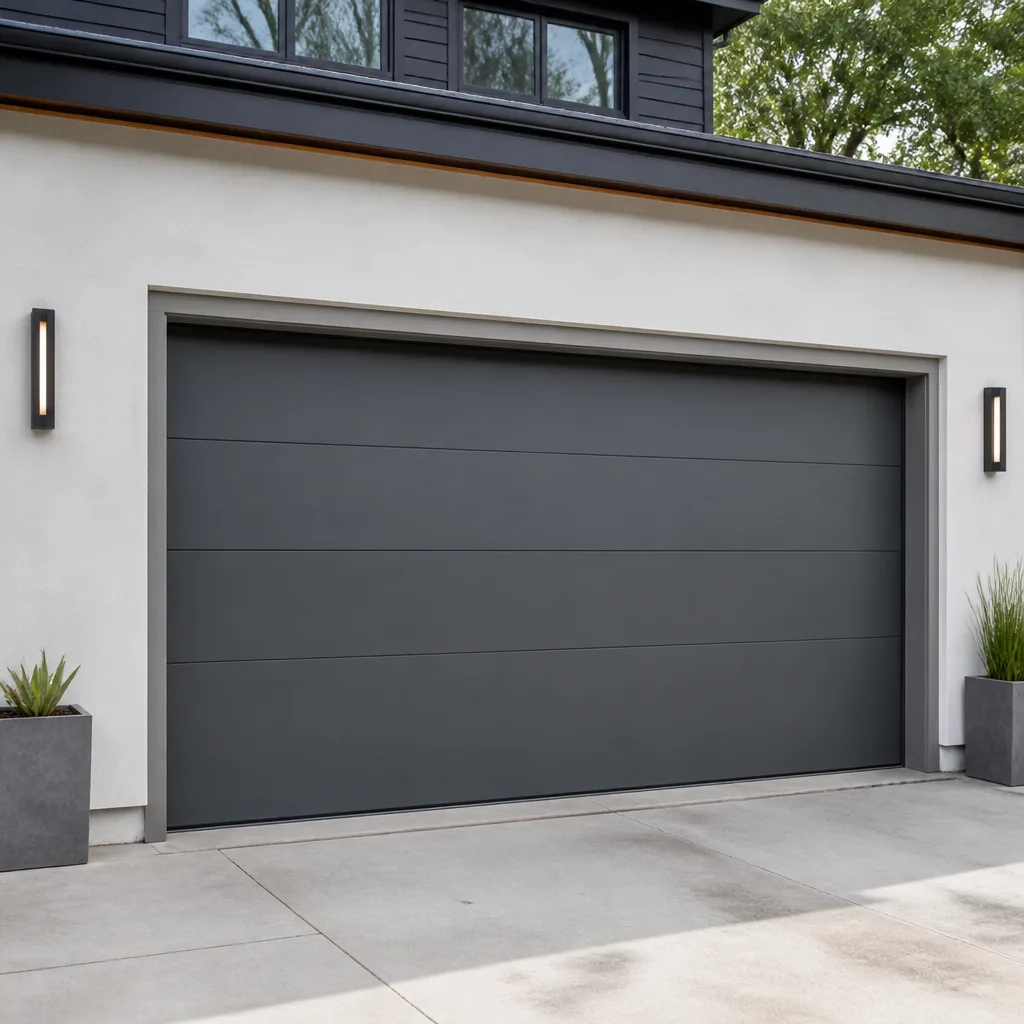 Modern flush
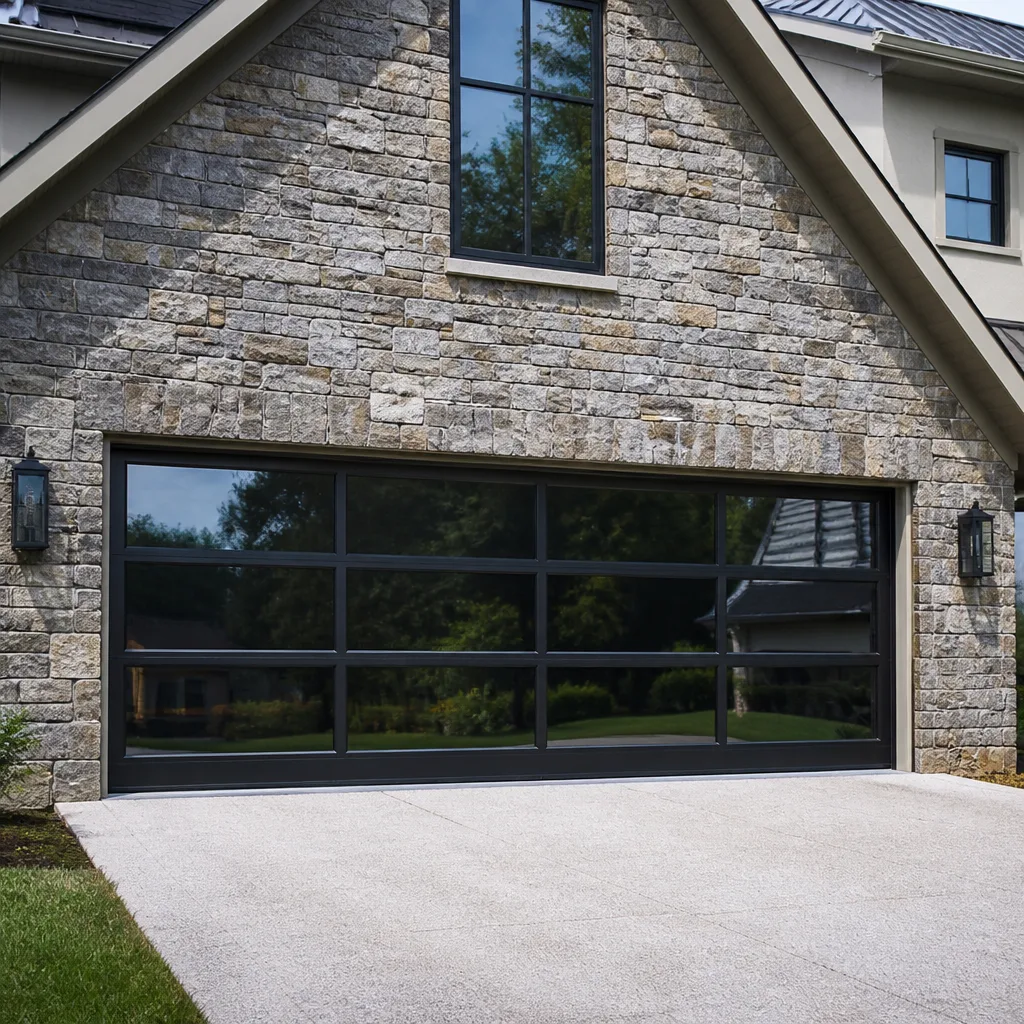 Full-view glass
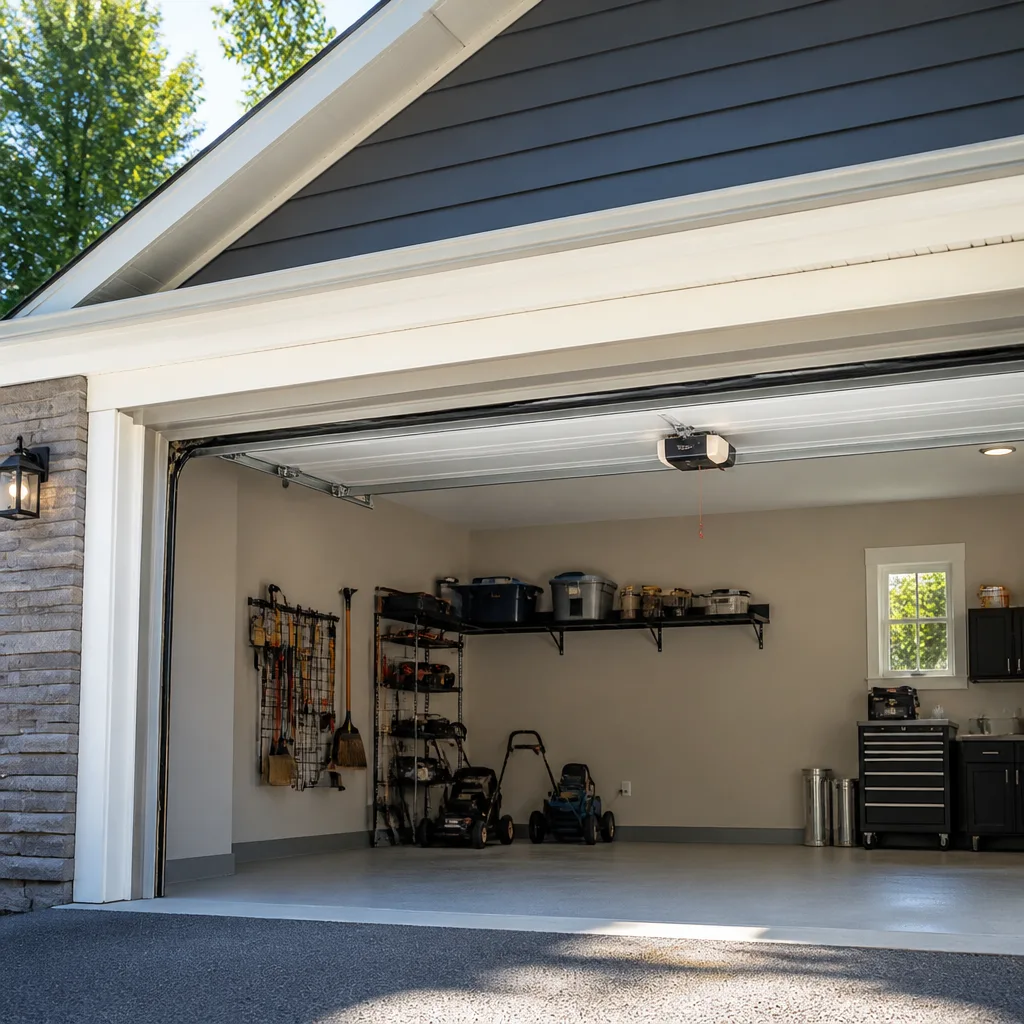 LiftMaster openers
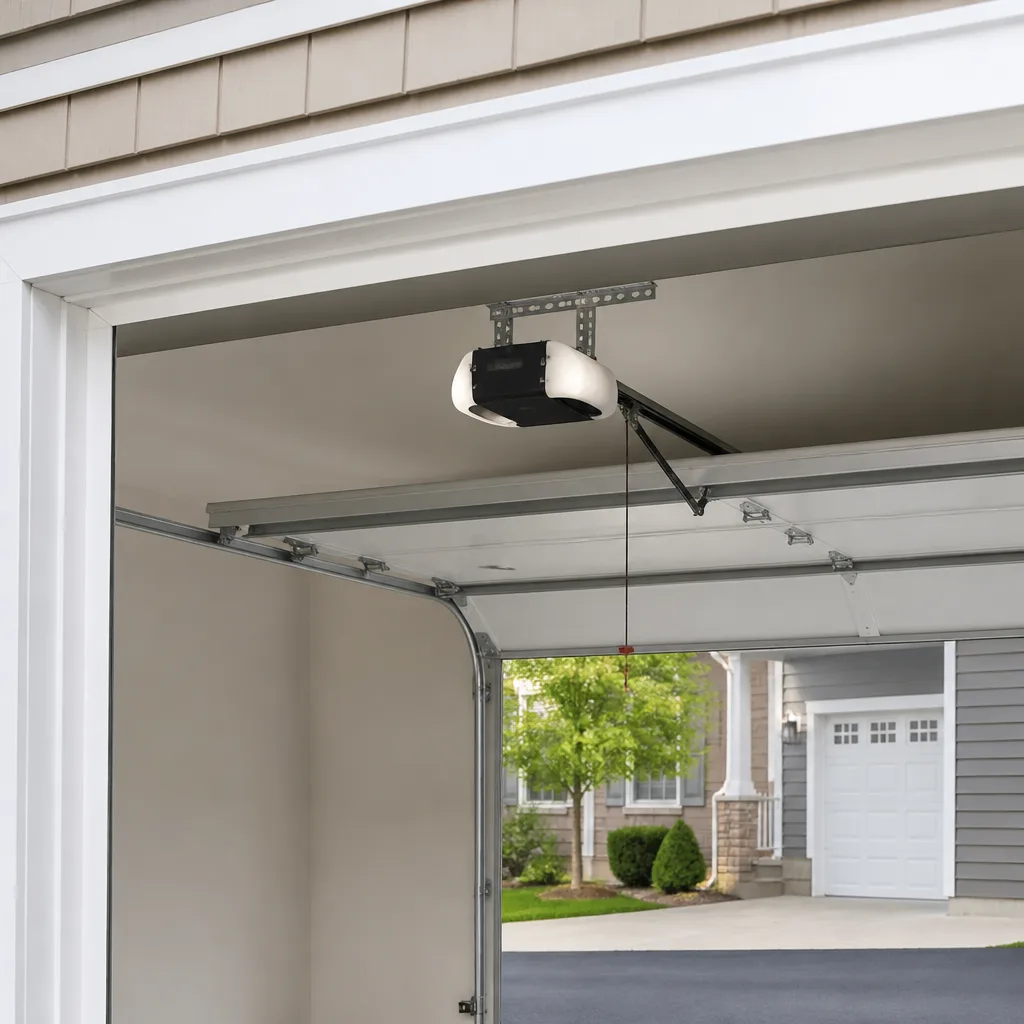 Chamberlain openers
Full 25-point door and opener safety check with every visit - springs, cables, rollers, tracks, and your LiftMaster or Chamberlain opener included
You get a price before we start. It does not change when the pro arrives.
Get your free estimateGarage Door Repair Maintenance Checklist for Westwood Homeowners
Most garage door “maintenance” advice is useless because it stays abstract. “Lubricate moving parts.” Which parts? With what? In what order? A checklist you can’t finish in twenty minutes is a checklist you’ll abandon by the second step, and that abandonment is exactly what turns a small, cheap fix into a large, urgent one. The math is simple: a worn roller caught during a routine inspection is an inexpensive swap. The same roller, ignored until it binds and chews the track, becomes a bigger job with a bigger bill. This guide is the checklist we’d hand a neighbor in Westwood – specific parts, specific products, specific order, and the three checks most homeowners skip that cause the majority of the emergency calls we take. You’ll learn what’s safe to do yourself and where to stop.
Quick Answer
A garage door maintenance checklist for Westwood homeowners should cover lubrication of the right components (hinges, rollers, springs, tracks – never with WD-40), a spring tension check done by eye and ear rather than by hand, weatherstripping inspection for road-salt and temperature-swing wear, a twice-yearly balance test, and a fastener and safety-reverse check. You can safely do the cleaning, lubrication, balance test, and visual inspection yourself in about 20 minutes. Spring adjustment and cable work belong to a trained technician.
Styles & brands we work with
- Raised-panel steel
- Carriage house
- Modern flush
- Full-view glass
- LiftMaster openers
- Chamberlain openers
Table of Contents
- What to Inspect on a Garage Door in Westwood
- The Right Way to Lubricate a Garage Door
- How to Check Spring Tension Safely (Without Tools)
- Ohio Weatherstripping: Road Salt and Temperature Swing
- The One-Minute Balance Test
- Testing the Safety Reverse on Your Opener
- DIY-Safe vs. Call-a-Technician: Drawing the Line
- A Seasonal Schedule for Westwood
What to Inspect on a Garage Door in Westwood
Start with a full walk-around before you touch anything. The goal of an inspection isn’t to fix – it’s to build an honest list of what’s worn so you can decide what to handle now, what to watch, and what needs a professional. A door that’s been opening and closing twice a day in Westwood for years accumulates predictable wear in predictable places, and knowing those places turns a vague “it seems fine” into a real answer.
Work through these in order, from the floor up:
- Bottom seal. Look for cracks, flattening, or a gap between the seal and the floor. This is your first line of defense against drafts, water, and pests.
- Panels. Check for dents, rust along the bottom edge, and separation between sections. Clopay and Amarr doors tend to show wear first at the bottom panel where moisture collects.
- Hinges and rollers. Look for cracked hinges, wobbling roller stems, and rollers that no longer sit centered in the track.
- Tracks. Run your eye down both vertical and horizontal tracks. They should be straight, parallel, and free of dents or debris.
- Cables. Look for fraying, kinks, or rust. A cable with even one broken strand should be flagged immediately – do not touch it.
- Springs. Look at the torsion spring above the door (or the extension springs running along the sides). Check for a visible gap in the coil, which means the spring has broken.
- Hardware and fasteners. Check that bolts and brackets are tight. Loose fasteners let the whole system rattle and drift out of alignment.
- Opener. Check the rail, the belt or chain, and the wall-mounted control. Listen for grinding or straining.
Write down anything that looks marginal. A list you can track over two or three checks tells you far more than a one-time glance. If your inspection turns up a problem you can’t explain, our garage door repair team can take a look and give you a free written estimate before anything proceeds.
The Right Way to Lubricate a Garage Door
Here’s the single most common mistake we see: homeowners reach for WD-40, spray everything that moves, and call it done. WD-40 is a solvent and light penetrant, not a lasting lubricant. It can actually strip existing grease and leave components drier than they were. For most garage door parts, you want a white lithium grease or a silicone-based lubricant – products designed to stay put and protect under load.
What to use and what to avoid:
- Use white lithium grease on hinges, roller bearings, and the torsion spring coils. It clings and lasts.
- Use a silicone spray on the tracks and on the weatherstripping. It won’t attract dust the way grease does.
- Avoid WD-40 and generic “multi-purpose” sprays on bearings and springs – they evaporate and don’t provide lasting protection.
- Avoid heavy motor oil – it drips, collects grit, and gunks up the tracks.
- Never spray the opener’s photo-eye lenses or the inside of the opener housing.
The order matters as much as the product. Work through the door in this sequence:
- Wipe down the tracks with a dry cloth to remove grit and old grease.
- Apply white lithium grease to each hinge pivot point – a small dab, not a glob.
- Apply grease to the roller bearings (the metal stem, not the roller surface).
- Lightly coat the spring coils. On a torsion spring above the door, this is a reach – and worth pausing on. See the spring section below for why.
- Spray silicone on the tracks and wipe them lightly with a cloth so they’re slick, not wet.
- Apply silicone to the bottom seal so it slides cleanly against the floor.
- Cycle the door once and listen. A properly lubricated door should sound quieter and smoother immediately.
This takes about ten minutes. Do it twice a year, and you’ll notice far fewer of the creaks and groans that send homeowners searching for garage door repair in Westwood. And if you’re ever unsure whether your opener is part of the problem, our garage door opener repair page covers the mechanical and electronic sides in plain terms.
How to Check Spring Tension Safely (Without Tools)
First, the safety line, because this one matters: never put your hands on the spring, the cables, or the bracket holding the spring while the door is under tension. High-tension torsion and extension springs are the most dangerous part of any garage door. The stored energy in a wound spring can cause serious injury in an instant. This section is about what to look at and listen to, not what to adjust. Adjustment is a professional job, every time.
What you can safely check:
- The gap test. On a torsion spring (the horizontal coil above the door), look for a visible gap in the coil. A gap of a quarter-inch or more means the spring has broken. That’s a call, not a fix.
- The balance of wear. Look at the spring along its length. A spring that looks like it’s sagging or has stretched noticeably is under uneven load and should be inspected by a technician.
- The sound. A spring on its way out often makes a sharp pop or crack when the door reaches the top of its travel. If you hear it, stop cycling the door and call.
- The liftoff test. With the door fully closed, run your hand (flat, not fingers under the bottom edge) along the bottom seal. If the door feels heavier than normal to lift a few inches – and you should only try this with the opener disconnected and the door at rest – the spring is losing tension.
- The door drift. If the door sags or settles unevenly when partially open, that’s a sign of a spring or cable issue.
One note on extension springs, common on older Westwood doors: if they don’t already have safety cables running through the center of the coils, that’s a priority conversation with a technician. Safety cables contain a broken spring so it doesn’t become a projectile.
On a healthy door, the springs carry the weight, and you can lift the door with one hand. If you can’t, something’s off. Call (855) 337-1660. We answer 24/7, and our dispatch runs 7am-7pm, Sunday through Friday.
Ohio Weatherstripping: Road Salt and Temperature Swing
Westwood weatherstripping takes a specific beating that coastal or warm-climate guides never address. Two forces do the damage here: road salt tracked in on boots and vehicles during the winter, and the sharp temperature swings of an Ohio spring and fall, where a door can go from 30 degrees in the morning to 65 by afternoon. Both wear the bottom seal faster than a mild climate would.
Road salt is a slow grinder. It gets on the garage floor, dries into a crust, and abrades the bottom seal every time the door closes. Over time, the seal flattens, cracks, and stops sealing – which lets in cold air, water, and mice. Temperature swing works differently: the seal expands and contracts with the door’s steel frame, and repeated cycling makes it pull loose or split at the corners.
How to inspect the bottom seal correctly:
- Close the door fully and look at the line where the seal meets the floor. You should see continuous contact with no daylight showing. A visible gap means the seal isn’t doing its job.
- Run a hand along the seal from one end to the other. Feel for cracks, hard spots, flat sections, or places where the rubber has pulled away from the retainer.
- Check the corners and the ends. This is where temperature cycling does the most damage. Look for splits and separation.
- Look for salt residue. A white, crusty line along the bottom of the door frame is a sign the seal has been grinding against salt and grit.
- Check the side and top seals too – the same wear applies, and a gap at the top lets in just as much.
If the seal is cracked, flat, or pulling away, it’s a straightforward replacement. A new bottom seal on a Wayne Dalton or Craftsman door is often one of the cheapest improvements you can make to a Westwood garage, and it pays back in warmth, dryness, and fewer drafts. A note on salt: sweeping the garage floor periodically in winter, rather than letting salt crust build up, extends seal life noticeably.
The One-Minute Balance Test
This is the single most useful thing you can do for your garage door, and it takes about sixty seconds. The balance test tells you whether the springs are doing their job or whether the opener is quietly compensating for a problem that will get worse. Run it twice a year – spring and fall in Westwood is the natural rhythm.
How to run it:
- Close the door fully, then pull the emergency release cord on the opener. This disconnects the door from the motor and leaves the door under spring tension only. Make sure no one is standing under the door.
- Lift the door manually to about halfway up (roughly waist height). Use a firm grip on the bottom panel – don’t put fingers under the edge.
- Let go and watch. A balanced door will hold itself in place around waist height, give or take a few inches drift. A door that drops to the floor or rises on its own is out of balance.
- Reconnect the opener by cycling it once and letting it catch.
Pass/fail criteria, plain and simple:
- Pass: The door stays roughly where you left it. This means the springs are carrying the door’s weight, the opener isn’t straining, and you’re good.
- Fail (drops): The springs have lost tension. The opener has been doing work it wasn’t designed to do, which shortens its life and puts strain on the whole system.
- Fail (rises): The springs are too tight, or the counterbalance is wrong. Either way, a technician needs to look.
If your door fails, don’t keep cycling it. An out-of-balance door accelerates wear on every other component – rollers, hinges, tracks, and the opener. Our garage door repair team can diagnose and correct the balance in a single visit, with the price quoted and agreed before any work starts.
Testing the Safety Reverse on Your Opener
The safety reverse is a feature most homeowners never test, and it’s the one that protects children and pets. Every automatic opener manufactured since 1993 has been required by federal law to reverse when it meets an obstruction – but the sensors can drift, the springs can change the door’s force profile, and a door that reversed correctly last year might not reverse today. Testing it is a two-minute job, and it’s the single most important opener check on this list.
Two tests, both worth running:
- The photo-eye test. With the door fully open and stationary, wave a broom handle or a piece of cardboard across the path of the two small lenses near the floor on either side of the door. The door should immediately begin closing and then reverse – or, if it was already closed, the opener should refuse to close it. If nothing happens, the sensors are misaligned, dirty, or dead.
- The contact-reverse test. Place a firm object – a piece of wood or a rolled towel – flat on the floor in the path of the door, in the middle of the opening. Start the door closing. When the door contacts the object, it should reverse and return to the open position. If it stops without reversing, or keeps pressing, that’s a problem.
The two sensors – called photo-eyes – sit near the floor, and they get bumped, covered in cobwebs, and knocked out of alignment by everything from a stray ball to a trash can. Check them first before assuming the opener is failing. On LiftMaster, Chamberlain, Genie, and Craftsman openers, the sensors are usually the first thing a technician checks because they cause the most false alarms.
If the reverse fails after cleaning and realigning the sensors, the opener’s force settings or the door’s balance is likely the culprit. That points back to the balance test above, and both belong in the hands of a technician. Same-day service is available on opener repairs – call (855) 337-1660. We answer 24/7.
DIY-Safe vs. Call-a-Technician: Drawing the Line
Homeowners ask us all the time where the line falls, and the honest answer is simpler than most guides make it sound. Anything that involves stored energy – springs and cables – belongs to a technician. Everything else on this checklist is fair game for a homeowner with a half hour and a couple of tools. The line isn’t about skill. It’s about risk.
Safe to do yourself:
- Lubricating hinges, rollers, springs (with a light reach from the ladder, not by hand), tracks, and seals
- Cleaning the tracks and the photo-eye lenses
- Inspecting and replacing the bottom weatherseal (a simple screwdriver job on most doors)
- Running the balance test and the safety-reverse tests
- Tightening visible bolts and brackets with a wrench
- Sweeping salt and grit off the garage floor in winter
- Replacing the opener’s remote batteries and the wall control if it stops responding
Call a technician:
- Any spring adjustment, replacement, or tightening
- Any cable work – inspection beyond a visual look, and any adjustment
- Straightening or replacing tracks that are bent or out of alignment
- Replacing rollers or hinges when a bearing has seized and the door is hard to cycle
- Any opener repair that involves the motor, the logic board, or the force adjustments
- Anything that looks like the door is off its track or sagging
One thing to keep in mind: an older door from Clopay, Amarr, Wayne Dalton, or similar is a well-understood system, and a technician who works on that exact make can usually diagnose a problem on the first visit instead of the third. We work on the brands most Westwood homes already have, which means we’re not guessing at part numbers. Our technicians have up to 11 years of experience with these systems. Full garage door installation is also on the list of things we handle, in case your inspection turns up a door that’s past repair.
A Seasonal Schedule for Westwood
The best maintenance checklist is the one you actually finish, and the trick to finishing it is spreading the work across the year rather than doing it all in one weekend. A simple four-season rhythm works well for a Westwood home.
Spring (April-May): The temperature swings of an Ohio spring are the hardest season on weatherstripping and seals. Do a full inspection, replace any worn bottom seal, and run the balance test. Sweep out the winter salt and grit from the garage floor and wipe down the tracks. Re-lubricate hinges and rollers after the winter.
Summer (June-August): The lighter season. Check the opener’s safety reverse and photo-eyes (kids and pets are outside more), and test the door’s balance again. If the door has been noisy all winter, summer is a good time to book a tune-up before the cold returns.
Fall (September-October): The most important season for a Westwood garage. Before the cold sets in, run the balance test, inspect the springs closely (cold weather makes a marginal spring more likely to fail), check the tracks and hinges for looseness, and inspect the bottom seal for wear from summer heat. Lubricate everything before the temperature drops.
Winter (November-March): Mostly about salt and cold. Sweep salt and grit off the floor regularly. Listen for unusual sounds when the door cycles – cold stiffens lubricant and can reveal problems that were invisible in summer. If the door gets noticeably heavier or slower, don’t wait until spring.
If you run these four checks, you’ll do one full inspection, one balance test, one weatherstrip check, and one lubrication pass per year, which is the schedule a trained technician would recommend anyway. The whole year’s maintenance adds up to about an hour of your time. Same-day service and fast dispatch from 7am to 7pm, Sunday through Friday, are there when something goes wrong anyway.
Common Mistakes to Avoid
- Reaching for WD-40 first. It’s a solvent, not a lubricant. It strips existing grease and leaves bearings drier. Use white lithium grease or a silicone spray instead, and keep the WD-40 for the toolbox.
- Lubricating the tracks with grease. Grease attracts grit and salt dust, and then the door grinds along that paste every time it cycles. Tracks want a light silicone spray, wiped nearly dry.
- Trying to “tighten” a torsion spring by hand. This is the single most dangerous mistake on the list. A wound spring stores enough energy to injure you badly. Leave every spring and cable adjustment to a technician.
- Skipping the balance test because the door “feels fine.” An out-of-balance door still opens – it just quietly wears out the opener and every roller on the track. The test takes a minute, and it’s the best early warning you have.
- Ignoring the bottom seal through an Ohio winter. Salt and temperature swing chew through seals fast. A cracked bottom seal lets in cold air and water, and the fix is cheap. Replacing it before winter is easier than replacing it in March.
- Forgetting to test the safety reverse. Photo-eyes get bumped and covered in cobwebs, and a door that fails to reverse is a real hazard to a child or pet. Test it twice a year, and clean the lenses with a dry cloth.
- Letting a small track dent ride. A small dent in a track is a cheap fix. Ignored, it turns into a stuck roller, a damaged hinge, and a door that won’t close cleanly – which turns a routine repair into a Westwood emergency call.
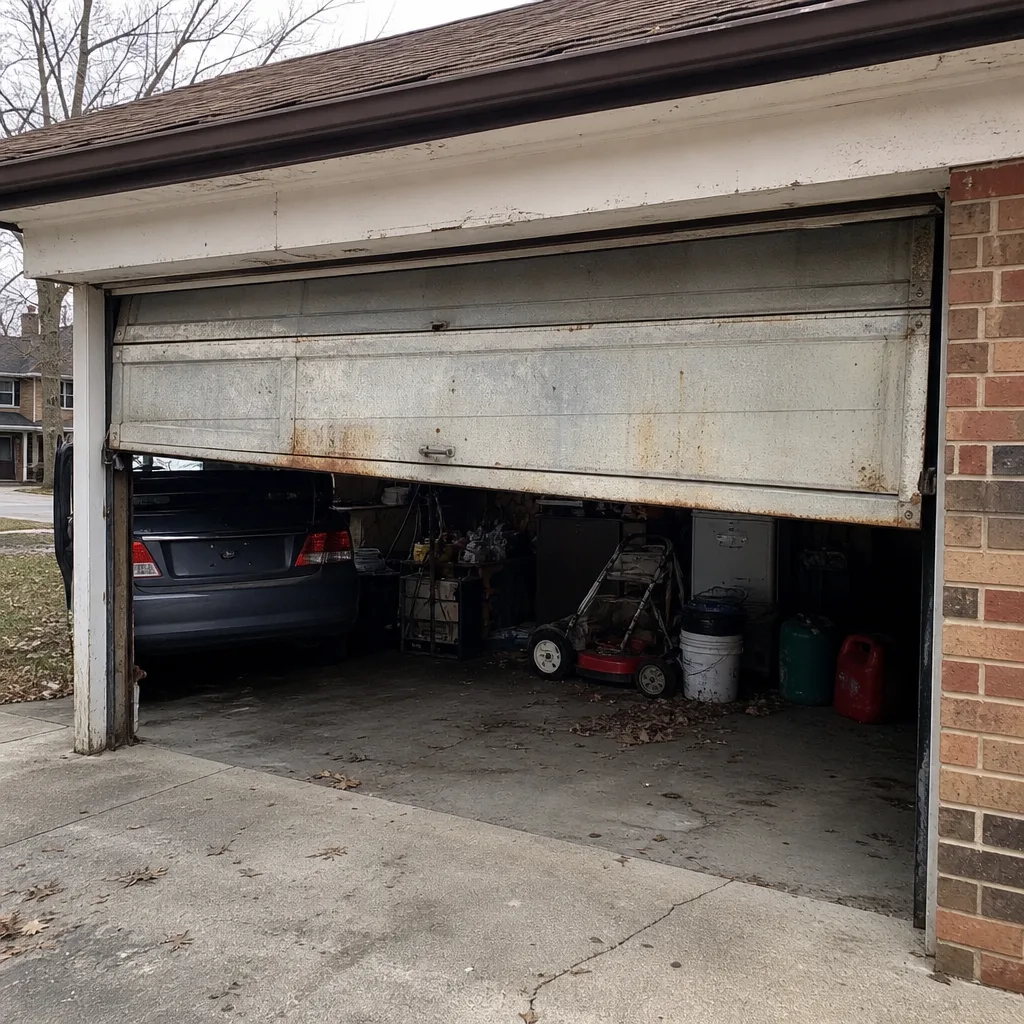
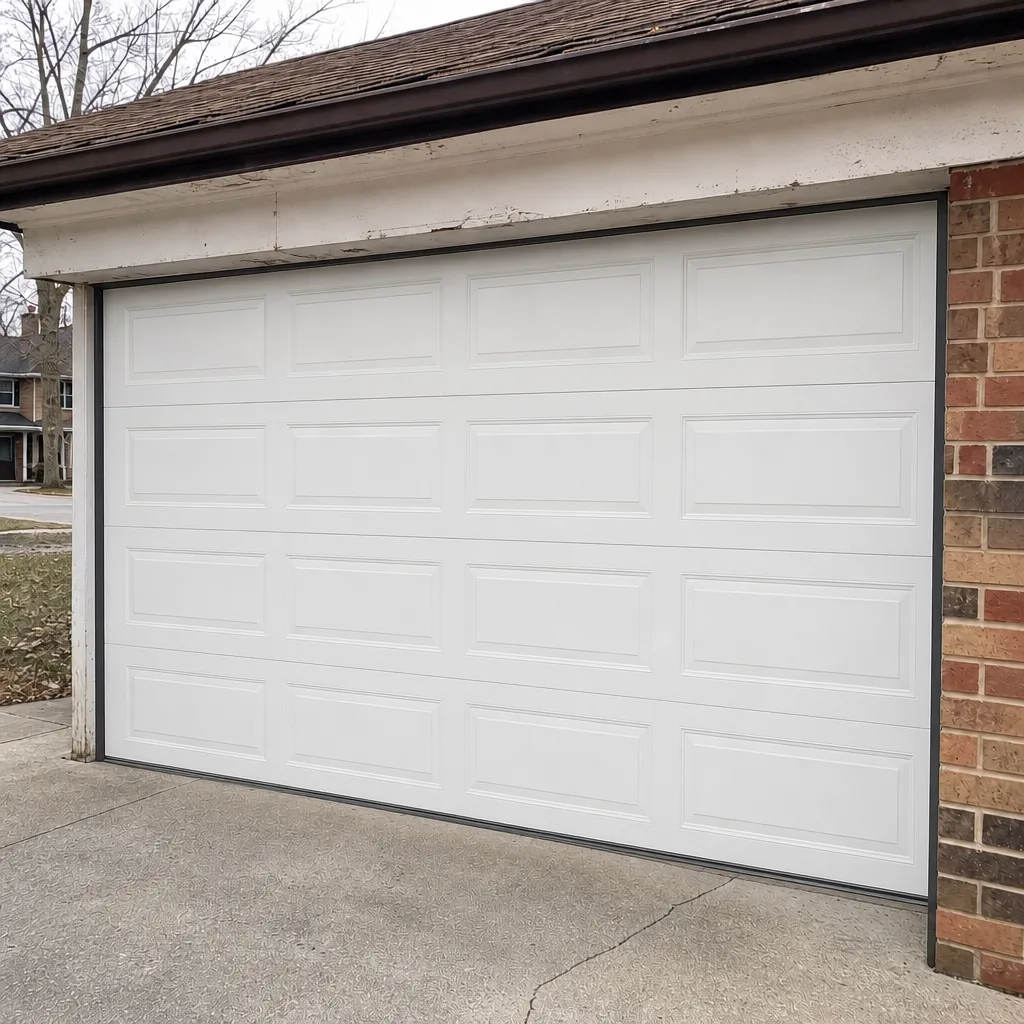
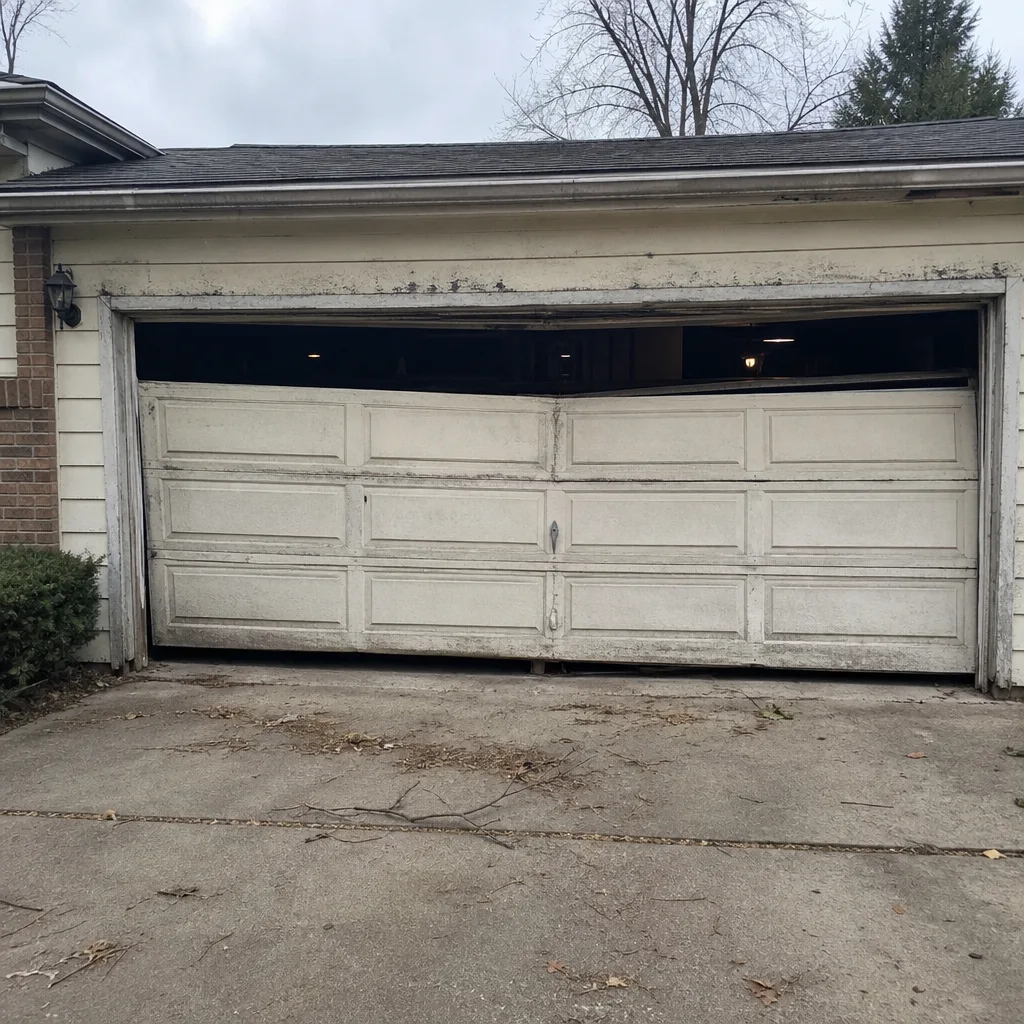
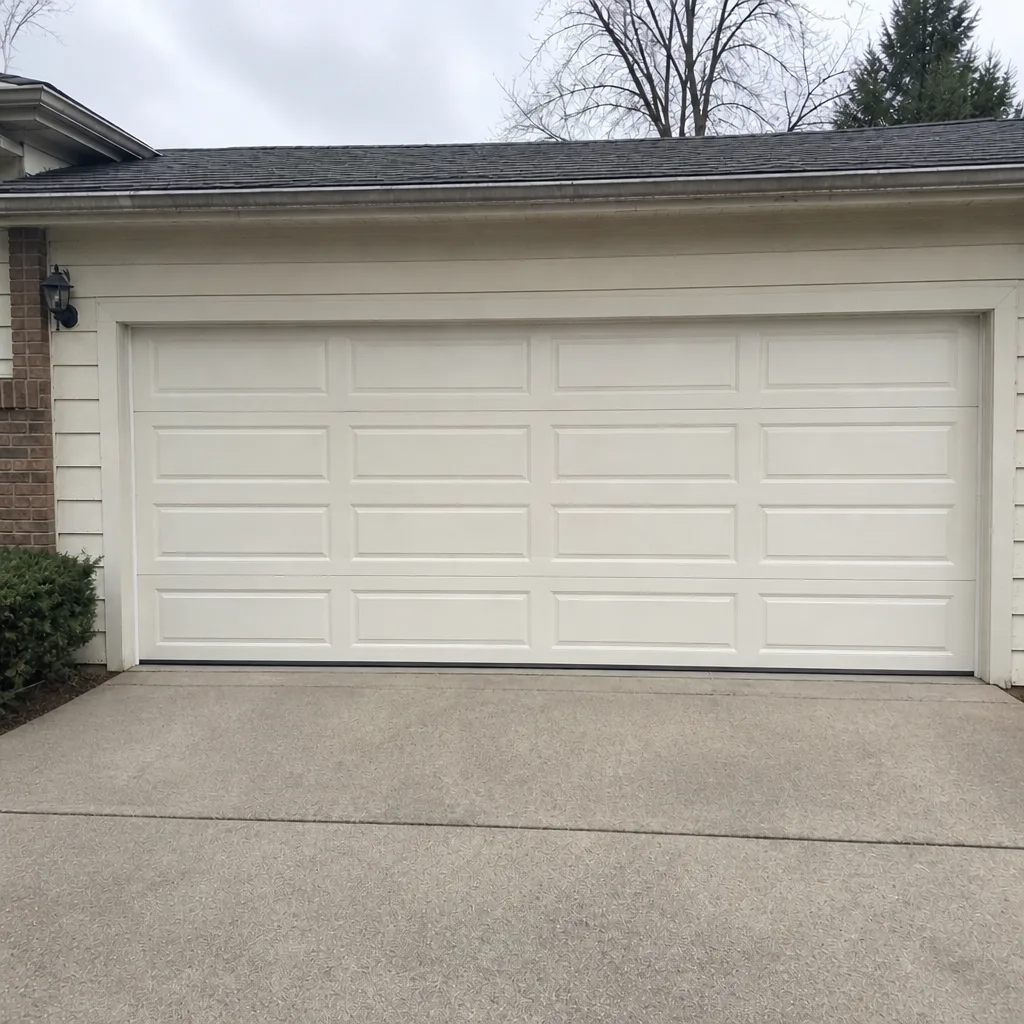
See the difference
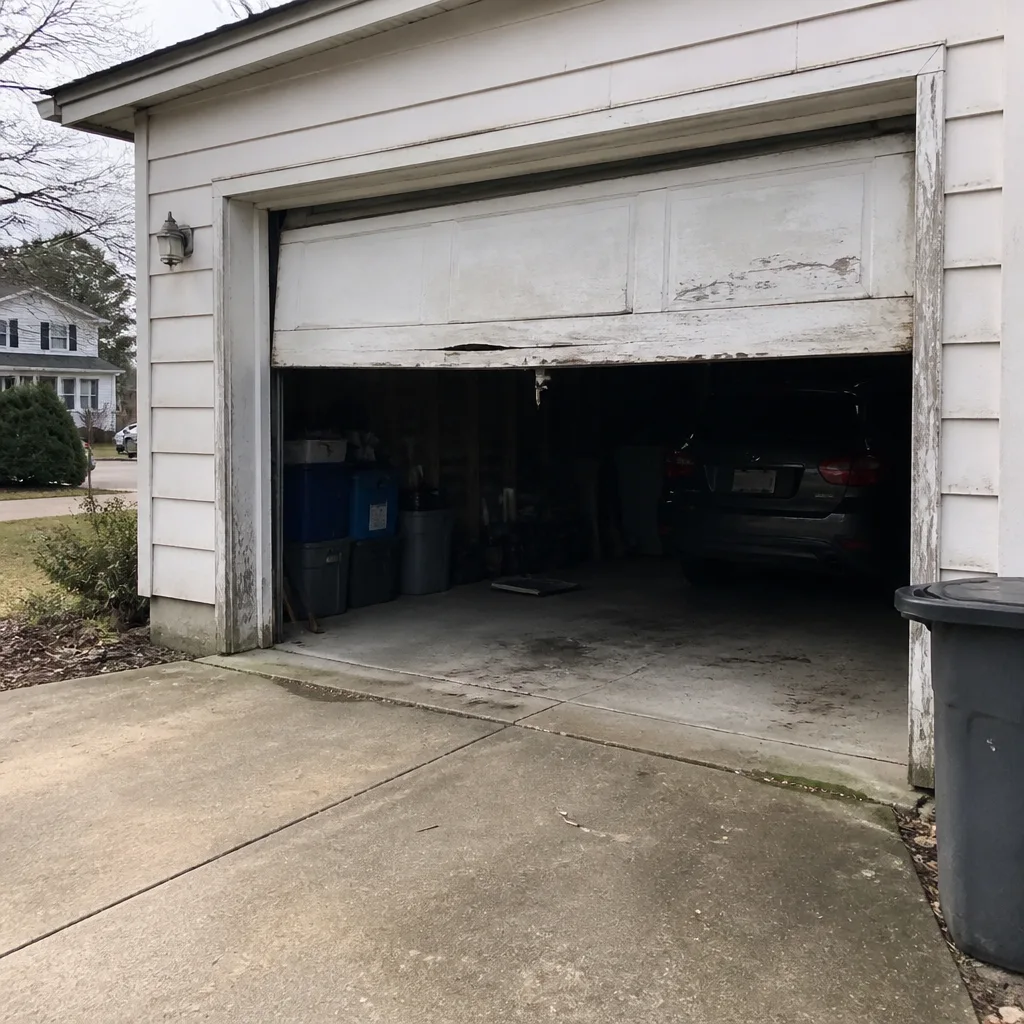 Before
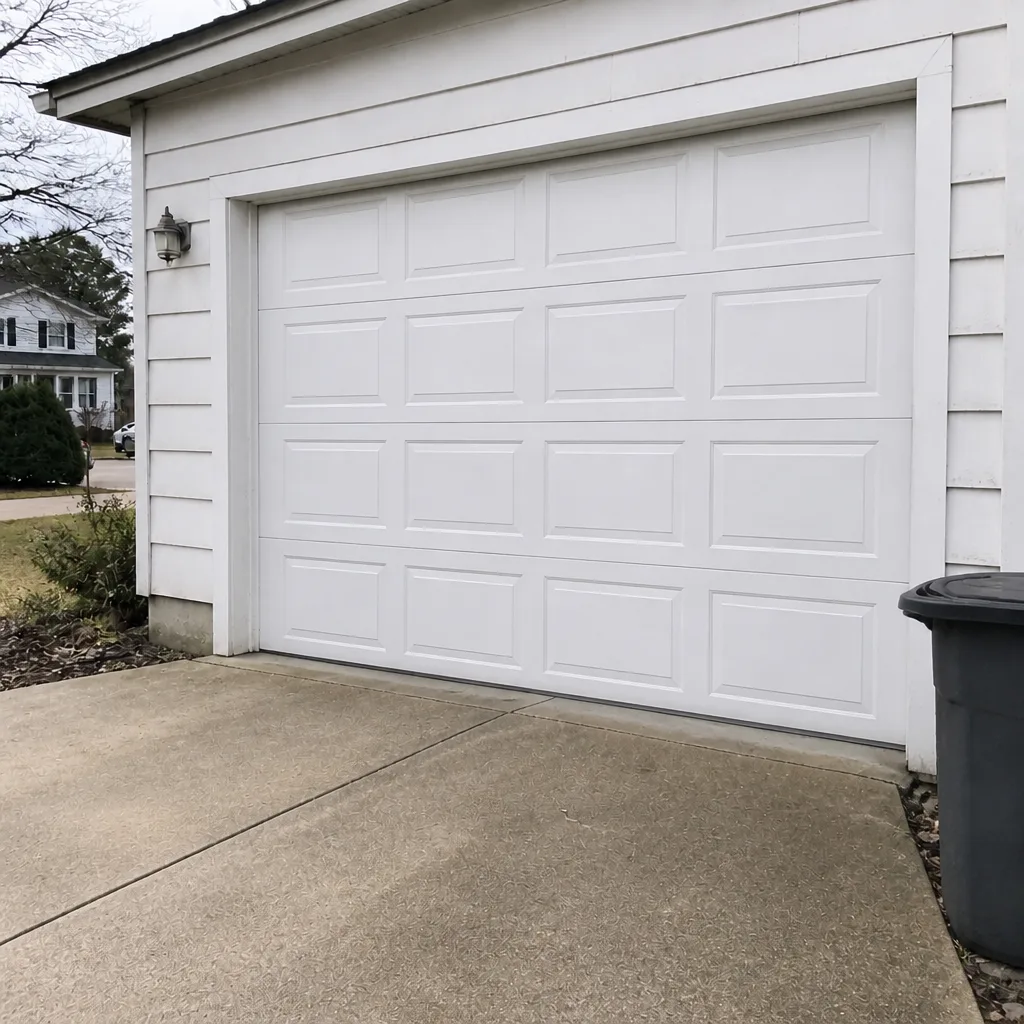 After
 Before
 After
 Before
 After
When to Call a Professional
Most of this checklist is designed for you, not us. But there are specific scenarios where stopping and making a call is the right move, and they’re worth naming plainly. If you see a visible gap in a spring coil, hear a pop or crack when the door cycles, or find a cable that’s frayed or kinked, stop – don’t touch it, and call a technician. If the balance test fails, the door drops or rises on its own, or the safety reverse doesn’t work after cleaning the sensors, that’s a technician job too. And if the door is off its track, sagging, or won’t close all the way, don’t force it; a stuck door under tension is a situation to leave alone. Westwood Garage Door Repair Pros offers free estimates in Westwood – call (855) 337-1660. We answer 24/7, with fast dispatch from 7am to 7pm, Sunday through Friday.
Frequently Asked Questions
Twice a year is the standard rhythm, ideally in spring and fall to match Ohio’s temperature swings. A full check in spring catches winter damage to the seals and springs, and a fall check gets the door ready for the cold. Lubrication can be done twice a year, and the balance test is quick enough to run every few months if you want to be thorough.
You can apply a light coat of white lithium grease to the spring coils, but only from a ladder and never by reaching into or around a wound spring. Never adjust, tighten, or try to move a spring by hand. If a spring looks sagging, has a visible gap, or the door is out of balance, call a technician and don’t cycle the door.
Use white lithium grease on hinges, roller bearings, and springs, and a silicone spray on tracks and weatherstripping. Avoid WD-40 and generic multi-purpose sprays on bearings and springs because they evaporate and don’t provide lasting protection. Avoid heavy motor oil entirely – it drips and collects grit.
Cold weather stiffens lubricant, and it also puts extra strain on a spring that was already marginal. Road salt tracked onto the floor and into the tracks adds grit. A lubrication pass in late fall, plus sweeping the salt off the floor, usually quiets a door noticeably. If the noise is a pop or crack, stop and call – that’s a spring issue, not a lubrication issue.
Yes, for most doors. A bottom seal is a simple screwdriver job, and it doesn’t touch the springs or cables. The one thing to watch is the retainer – if it’s rusted or damaged from salt exposure, replacing the whole retainer is a technician job. If you’re unsure about the door’s make or the retainer type, a quick call settles it.
Don’t keep cycling it. An out-of-balance door puts excess strain on the opener and every roller on the track, and the problem accelerates. A technician can diagnose the cause – usually spring tension – and correct it in one visit, with the price quoted and agreed before any work starts. Same-day service is available.
The Bottom Line
A garage door maintenance checklist for Westwood homeowners works when it’s specific and finishable: lubricate hinges, rollers, springs, tracks, and seals with the right products (not WD-40), check spring tension by sight and sound and never by hand, inspect the bottom seal for road-salt and temperature-swing wear, run the one-minute balance test twice a year, and test the safety reverse on your opener. Do the cleaning, lubrication, and testing yourself. Leave springs and cables to a technician. Spread the work across four seasons, and you’ll spend about an hour a year keeping the door quiet, balanced, and safe. Everything else – the parts, the tools, the check – is a call away.
If your inspection turns up something you’d rather not handle – a worn spring, a noisy opener, a door that won’t balance – Westwood Garage Door Repair Pros is here. We work on the brands you already have, we handle both the door and the opener under one call, and we quote and agree the price before any work starts. Free estimates in Westwood. Call (855) 337-1660. We answer 24/7, with fast dispatch from 7am to 7pm, Sunday through Friday. For a full look at what we do, start with Westwood Garage Door Repair Pros.
Written by the team at Westwood Garage Door Repair Pros.